There’s a Better Way to Find a Job.
Let AI match you to hidden opportunities.
AI job matching is how top talent gets hired today. No more guessing, keyword stuffing, or endless scrolling. Just smart matches based on who you really are.

Tired of the endless job hunt?
Most job seekers apply for dozens of roles and hear nothing. Talentprise connects you directly to roles that match your real value.

No more keyword filters
Applicant Tracking Systems miss great talent. Our semantic AI understands the meaning behind your skills and experience.

Get noticed by employers
Talentprise ranks and promotes your profile so recruiters see your strengths first, even for unlisted jobs.

Access hidden opportunities
Discover roles that aren’t posted anywhere else. Talentprise’s innovation uncovers hidden and passive job openings.

Stay ahead of hiring trends
Hiring is changing fast — remote roles, AI screening, and new skill demands. Talentprise helps you stay visible and relevant in a shifting job market.
Here’s How to Get Started
Quick onboarding with resume parsing, your profile goes live and is reachable by employers in minutes.

Upload your resume and set preferences.
Talentprise parses your resume, saving you time.
You can share your job preferences.

Review & confirm the parsed data.
Ensure the accuracy of your profile by checking the parsed data and making any necessary edits.

Showcase What Makes You Unique.
Take a few moments to uncover your traits, skills, values, and motivations to match you with the right jobs.
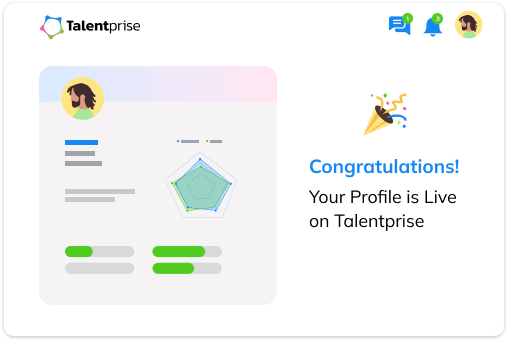
Welcome On Board!
You’re now part of the Talentprise Talent Pool, where your profile, resume, and assessment results empower our AI to match you with employers looking for someone like you.
What Happens Next?
Just sit back and let our platform do the work. When a recruiter finds your profile a match, they’ll contact you directly via email, phone, or Talentprise messaging.
Real Results from Real People.
Hear how Talentprise helped genuine job seekers land roles faster, with less stress, and more confidence.


Delve into Rich, Actionable Insights
Stay ahead with the latest job hunt, market trends, tips, and more.


Frequently Asked Questions
Everything you need to know. If you still have questions, please contact us.
Built for All Professionals.
Whether switching careers or re-entering the workforce, Talentprise adapts to your journey.
